One of the tendencies I noticed in the Kitchen & Bath Industry Show this season would be the high number of goods that slide. There were products that slide up or out to utilize, then slide out of sight when not in use. There were also excellent products with sliding elements that increase their own functionality and style. This Ideabook encompasses those, and many others spotted in other recent trade shows.
More: Best 20 Kitchens of 2011
Jamie Gold, CKD, CAPS
Blum Servo-Drive
This entry is about full-overlay drawers that slide open without pulls or knobs. Blum has been known for superior cabinet hardware, such as full-extension, soft-close undermounting drawer slides and soft-close door hinges. Servo-Drive permits you to make a clean-lined, full-overlay drawer bank without a decorative hardware. A touch of the finger activates the drawer opener.
Jamie Gold, CKD, CAPS
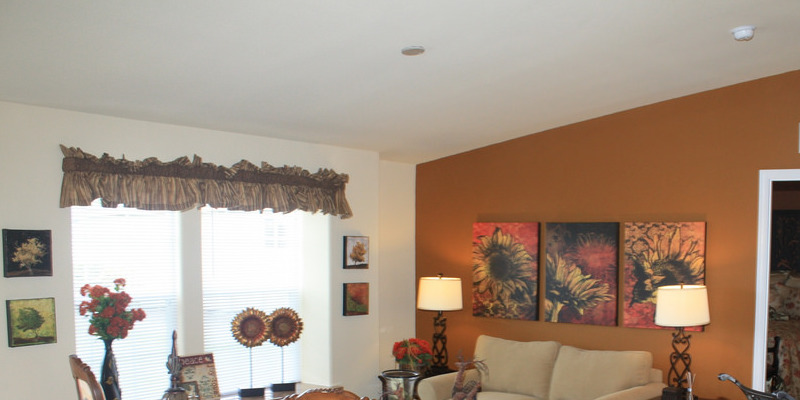
GE Monogram 36″ Slide-Out Hood
This hood slides out from below a cabinet, where it remains unobtrusive until you need to utilize it. In addition, it can be used as a stand-alone chimney-style hood. I used it in a upscale kitchen with integrated appliances to great effect.
Jamie Gold, CKD, CAPS
Salice – Bortoluzzi Sistemi
Salice, yet another premium European hardware maker, introduced its own Bortoluzzi Sistemi to the US market in 2011.
These heavy duty hinges allow cabinet doors to slide open across one another, like the passenger doors onto a minivan, instead of swinging out. This frees up walkway distance. They offer automation, which is very good for the bigger, heavier doors you might want to include within an European-style kitchen.
The S-Box
S-Box Knife Box
S-Box has introduced a series of sliding organizers. This one replaces your regular, countertop-cluttering knife block, and does not tie up a drawer how a cutting edge center does.
Jamie Gold, CKD, CAPS
S-Box I-Dock Box
You’re likely to need your iPod handy in the kitchen to enjoy your favorite songs while you work. Why not keep it charged and skip the ear buds in precisely the same time? This slider brings your charging station from below the countertop to easy use with the touch of a finger.
Jamie Gold, CKD, CAPS
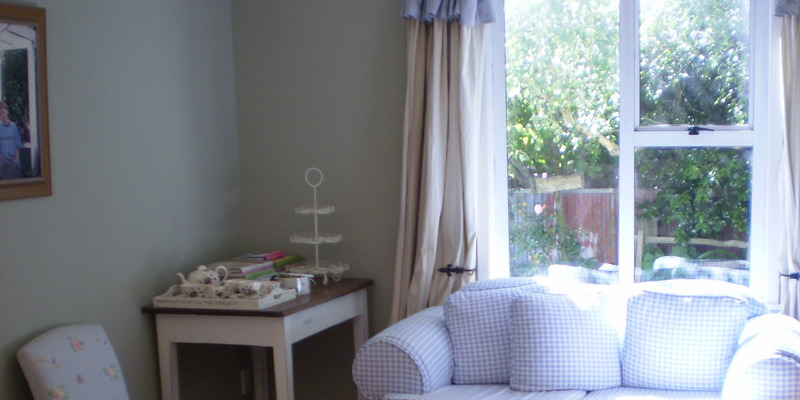
S-Box TV box
Here’s a smart way to add a television to your kitchen. This set, complete with an HD-ready TV/DVD and remote controller, slides upward from your countertop when you want to watch — and back out of sight when you don’t.
Jamie Gold, CKD, CAPS
S-Box Key Box
This slide-up-from-the-countertop key holder adds an element of convenience to your daily routines. Keys can be stored out of sight, but in easy reach.
Jamie Gold, CKD, CAPS
S-Box Spice Box
Where to store your spices is always a kitchen preparation question. This slide-up organizer adds another option. Locate it where you prep your meals for a convenient, smart way to keep your favourite seasonings arranged and within finger reach.
Jamie Gold, CKD, CAPS
Brizo Solna – $349
This modern kitchen faucet along with its companion bar/prep faucet offer a unique characteristic: Their pull-down spray heads slide out of sight when not in use for a sleek, modern look not often achieved in this category. The sliding spray heads pull via levers tucked subtly behind their graceful necks.
Jamie Gold, CKD, CAPS
Gaggenau Induction Cooktop
This Gaggenau induction cooktop Isn’t yet available from the U.S. I spotted it in the LivingKitchen Show in Cologne, Germany. What gets it into this sliding Ideabook is that you can slide a pot or pan everywhere on its surface and cook there. It is going to even remember the configurations you made in its prior position and slide them to the new site. It is planned for 2012 US launch.
Minimal
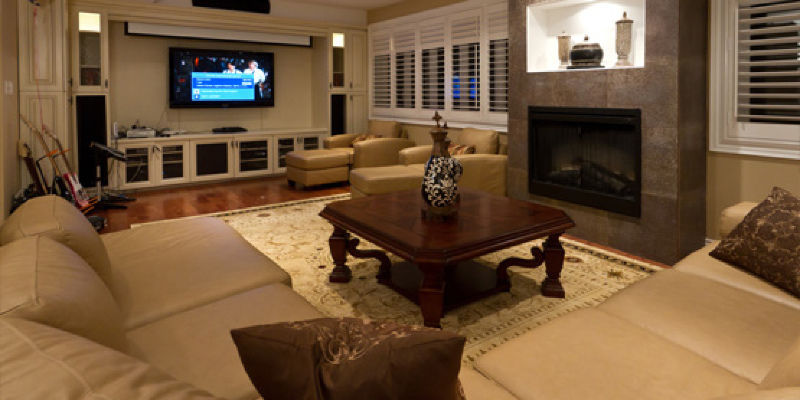
Sliding Best Kitchen with Minimal USA
One of the trends I’m really enjoying is your European-style”un-kitchen/hidden kitchen” look. Doors slide open to reveal storage and appliances. Countertops slide open to reveal retractable and sinks faucets. The kitchen shown below, by token USA, is typical of its category — coming to an upscale showroom near you!
More: Kitchen Cabinets Heading Our Way
Best 20 Kitchens of 2011
20 of the Coziest Kitchens Around