Contrary to popular belief, not all tile-related tasks are difficult. In fact, you don’t have to be a hardcore DIYer to install floor tiles or do hardwood flooring Los Angeles. All you need is the right tools, a reasonable amount of familiarity with those tools, and enough time on your hands. If you’re thinking of sparing a few days this weekend on a tile work project such as installing floor tiles, then you’ll enjoy our step-by-step guide on how to do just that.
Install a Cement Board Underlayment
Before you start installing the tiles, consider the elevation effect that the tiles will have on the room you’re installing them in. For example, you might need to move fixtures like the toilet seat and the vanity if you’re installing them in the bathroom.
You’ll also need to consider the height of the appliances that are situated under the countertops if you’re installing them in the kitchen, to ensure that they’re a suitable fit for the new floor height. You’ll also have to install a layer of cement board on the floor to get it ready for the tile installation.
Find the Center of the Room
Be sure to clearly mark the halfway point of the room. You’ll need this later.
Lay Out the Tiles
Lay out the tiles by starting from the marked center and make sure to leave spaces in between each of them.
Start With the Center Tile
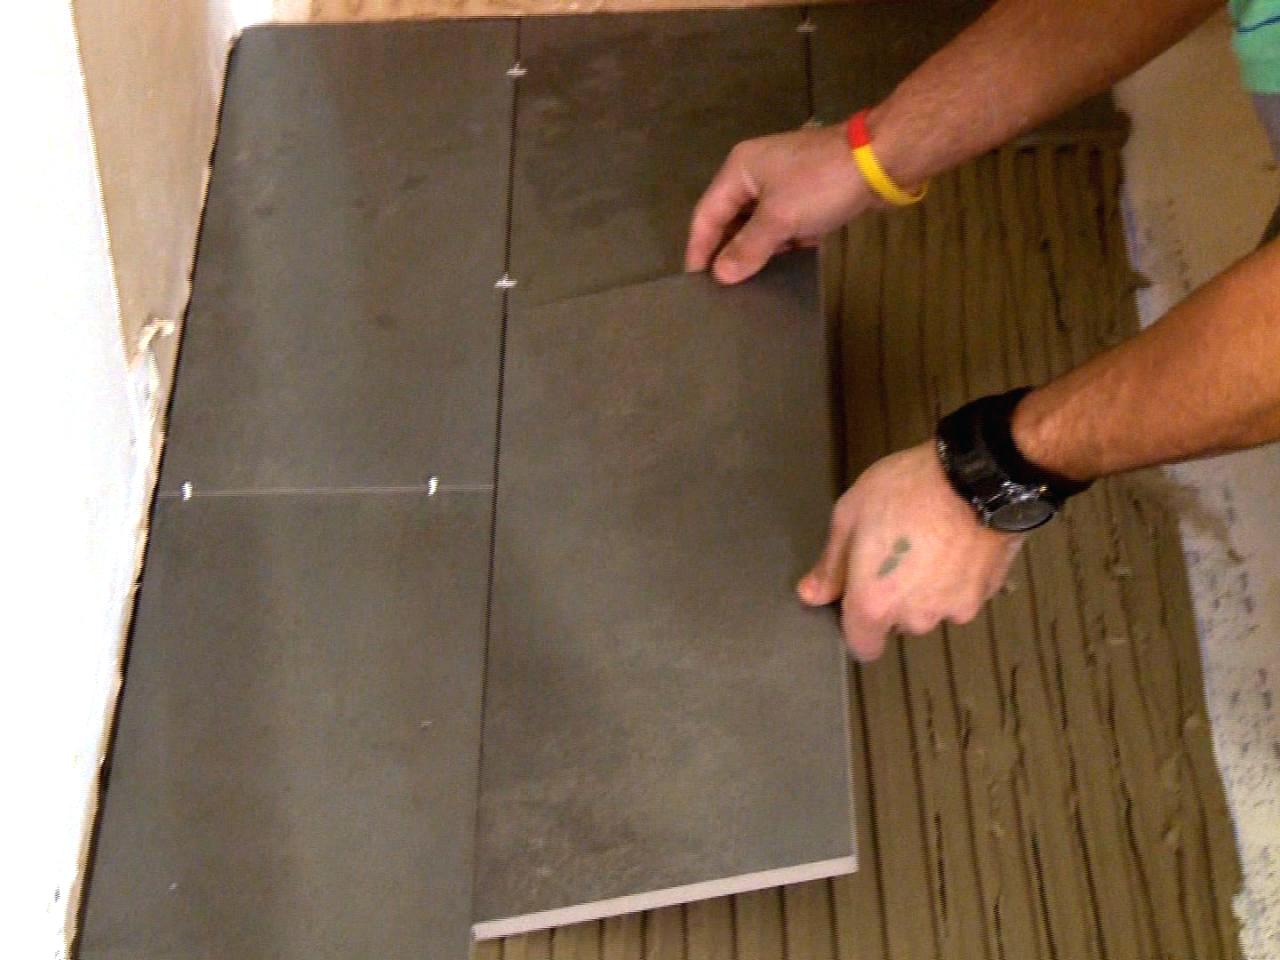
Now you can start hardwood floors Los Angeles installation, one by one, starting with the ones in the center. To install, apply a manufacturer-approved adhesive to the floor with a trowel and then place the tile on top, moving it around a bit until it’s firmly set in place and in the right position.
Install the Remaining Tiles
Work your way outward from the center to install the remaining tiles, making sure to keep them straight the whole time. Also, be careful not to overdo it with adhesive, as none of it should ooze out of the sides when pressing down the tiles. Remember to leave spaces between the tiles in preparation for the grout lines. If, when you get to the end of the room there isn’t enough space to fit an entire tile, you should cut the tile carefully and trim it to fit the available space.
Allow the Adhesive to Cure
Leave the adhesive on overnight before you continue with the rest of the flooring Los Angeles installation. This is known as ‘curing’ and it contributes to ensuring that the tiles will stay in place over time.
Mix the Grout
The following day, take the grout and mix it until it becomes a peanut butter-like consistency. Then, use a tool that’s known as a rubber grout to work the grout into the grout lines and joints. Don’t leave any lines undone.
Clean the Tiles
Use a damp sponge to clean off any excess grout, and then cure the grout for several days by spraying it with some clean water each day to keep it damp. Lastly, spread on a manufacturer-approved sealant to finish off the job.